Logging OBD2 data
In this section we outline how to log OBD2 data with your CLX000.
Table of Contents
Configure your device - quickstart
For a quickstart, use our ‘plug & play’ OBD2 Configuration File:
CL1000 (FW 5.86) | CL2000 (FW 5.86)
Download the Configuration File, unzip it to your SD (replace the original) and safely eject the SD.
This lets your device request some of the most common OBD2 PIDs using a 500K baud rate.[1]
Record data from your car
- Connect the CLX000 to the OBD2 connector in your car via the DB9-OBD2 adapter[2]
- Verify that the device turns on and logs data (see the LED section of the CLX000 Docs)
- Disconnect the device and review the
TXTlog file via a text editor - If your car responds[3] you should see CAN frames with ID
7E8[4] in your data - Once confirmed, you can optionally optimize your Configuration File[5]
Decode & plot your OBD2 data
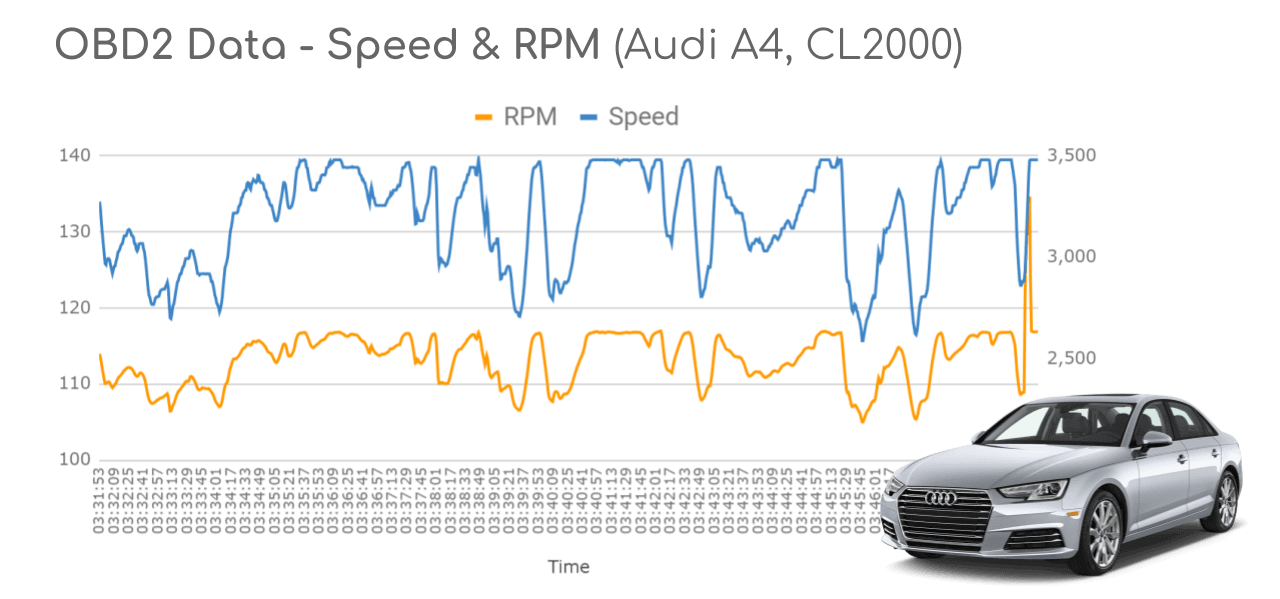
The SavvyCAN intro details how you can load log files with raw data from the CLX000 and DBC decode them into human-readable form - e.g. exporting the data to CSV.
You can use our free ODB2 DBC in SavvyCAN to decode your data.

Add new OBD2 requests
If you want to add a new PID request, you can find an overview of (potentially) available PIDs here. You then open the above OBD2 Configuration File and go through below steps:
- Go to the transmit list section of the
CONFIG.INI - Find a PID you wish to replace in the list (e.g. one that your car does not respond to)
- In the data payload field, set the 3rd byte to match the hex PID value you want to request
You can alternatively add additional PID requests (up to 20) and change the period/offset. However, we recommend keeping a minimum offset between each message of 250-500 ms. Further, you must ensure that no message has an offset value that exceeds the period value (otherwise the Configuration File is invalid).
OBD2 & battery consumption
The CLX000 consumes <1W, which is not an issue for your car battery in practical use cases. In most cases, the device also turns off with your car (or 10-20 min after). However, if this is not the case and you’re requesting OBD2 data, the device may “wake up” the car sensors.
In such scenarios, there are a couple of options:
- You can simply disconnect the device between trips
- You can re-wire your vehicle’s OBD2 connector so that the power pin is linked to the ignition
- If your use case requires dynamic toggling of the OBD2 requests, consider the CANedge
| [1] | Note that the default list in the CONFIG.INI matches most of the common Mode 01 PIDs, but you can manually add custom OBD2 PIDs. Further, if your vehicle uses extended IDs (e.g. for light trucks), you may need to use the request ID 18DB33F1. The responses in this case may come on 18DAF110 |
| [2] | We recommend using one of our DB9-OBD2 adapters. If using a 3rd party cable, it’s important to verify the pin-out. |
| [3] | Note that some older cars do not support OBD2 data acquisition via CAN bus, while some newer cars block CAN access via the OBD2 connector. For cars that do support OBD2 data, the extent of coverage varies. The “supported PID” single-shot requests can help provide information on what PIDs are supported. If your car does not respond to the OBD2 requests, we recommend to test in other cars to determine if the issue is specific to the car or e.g. the Configuration File |
| [4] | In some cases you’ll see IDs like 7E9. In this case, you may need to modify the OBD2 conversion database to use alternative CAN IDs |
| [5] | For example, you may want to add filters to only record OBD2 responses. Also, you may want to add custom OBD2 PID requests - see our simple intro to OBD2 and the OBD2 PID Wikipedia page for details on this |