Self-hosted server
The CANedge3 can connect to a self-hosted S3 server that is port forwarded (to enable internet access). We recommend MinIO which is the #1 free open source S3 server.
Below we outline how to set up a local MinIO S3 server and port forward it. Note that the CANedge3 will not be able to connect to the MinIO S3 server until it is port forwarded.
Note
For most use cases we recommend to set up an AWS S3 server rather than a self-hosted server as it makes deployment simpler, lower cost and scalable
Table of Contents
Setting up a local MinIO server
Below we outline how you can set up a local server on your Windows PC:
- Update the host PC firewall to allow traffic on port 9000 (see video)
- Download the MinIO S3 server (Windows, Linux AMD64)[1]
- Open the command prompt in the folder, paste in the below and hit enter
SET MINIO_ROOT_USER=YourAccessKey
SET MINIO_ROOT_PASSWORD=YourSecretKey
minio.exe server C:\DATA --console-address ":9001"
- Open the ‘MinIO console’ by entering the console address in your browser (port
9001) - Login to the console, go to “Buckets” and create a new bucket (default settings)
- You now have your endpoint, port (
9000), bucket and credentials[2] - Check if you can login via CANcloud on the host PC (using Firefox[3])
- Check if you can login via CANcloud on another PC on the network (using Firefox[3])
Note
If you do not update your firewall settings, the CANedge will be unable to connect
Note
It is strongly recommended that the host PC/system is continuously active to ensure that the self-hosted MinIO S3 server is always available
Creating a bat file
If you later need to start this server again, you can optionally create a *.bat file with the lines from earlier, which you can then double-click to start your server. This bat file can also be setup to run when your machine boots.
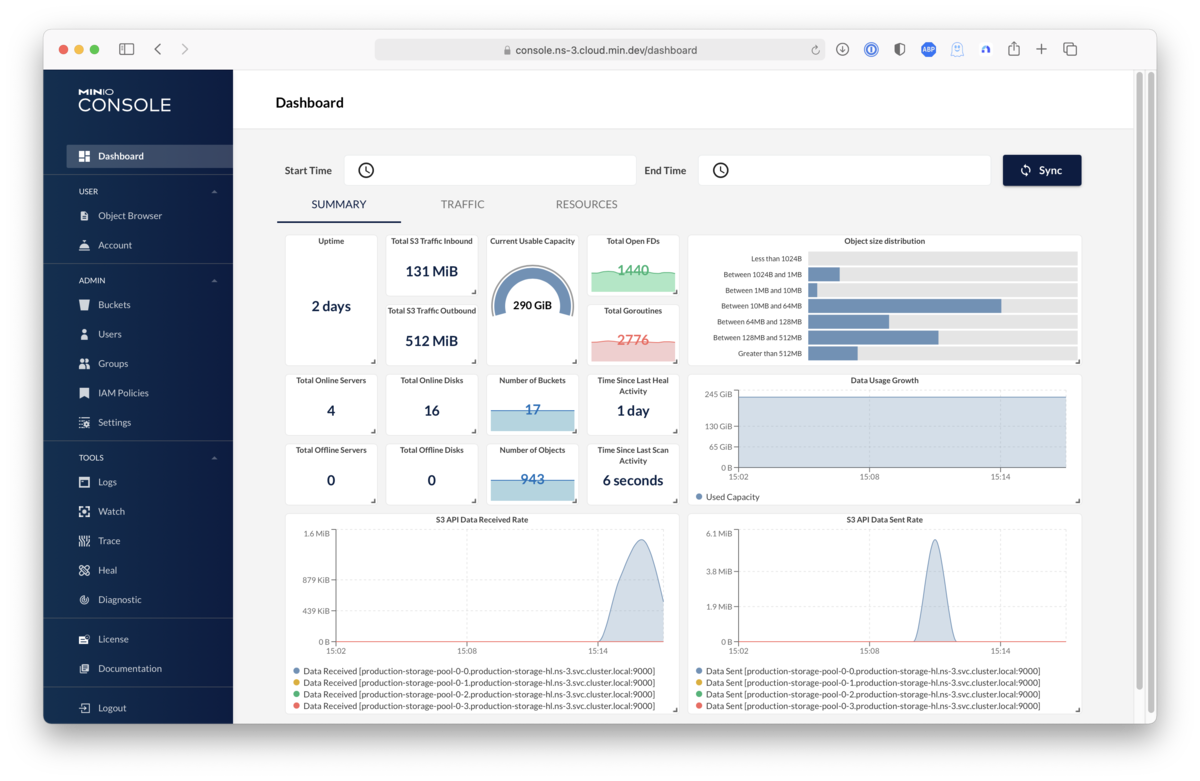
Using the MinIO console
MinIO supports a powerful ‘console’ view that offers a graphical user interface for controlling your MinIO S3 settings and monitoring your data flow. This can be viewed as a ‘server management tool’, while CANcloud can be viewed as a ‘device & data management tool’.
Using the MinIO client tool
The MinIO Client tool lets you perform various operations on your MinIO server via the command line. It provides a modern alternative to UNIX commands like ls, cat, cp, mirror, diff etc.
To get started with this tool, follow the below steps:
- Download the MinIO client
- Open your command line and enter the below (
<ALIAS>is a nickname for your server)mc config host add <ALIAS> <YOUR-S3-ENDPOINT> <YOUR-ACCESS-KEY> <YOUR-SECRET-KEY> - You can now e.g. create a bucket on your server as follows:
mc mb <ALIAS>/<BUCKETNAME>
Example
Adding a HTTP trace for your MinIO server:
mc config host add myserver http://192.168.1.179:9000 YourAccessKey YourSecretKey
mc mb myserver/mybucket
mc admin trace myserver
For a full list of MinIO Client commands, see the MinIO Client quickstart.
Port forwarding your MinIO server
Below we describe how to port forward your MinIO S3 server to access it via the internet.
Warning
If you’re new to servers, we recommend setting up an AWS S3 cloud. This way you do not have to consider port forwarding, firewalls etc. Once your setup is in place, you can always switch to a MinIO server later via an over-the-air update
To port forward your MinIO S3 server, follow the below steps:
- Log into your router settings (often via
http://192.168.0.1) - Go to the Port Forwarding section (often under WAN or Advanced)
- Create a new port forward entry (IPv4)
- In the ‘Local IP’, add the local network MinIO endpoint (e.g.
192.168.0.178) - In the local start/end port, add the MinIO endpoint port (e.g.
9000) - Use the same MinIO port for the external start/end port (if relevant)
- Find your public WAN IP by googling “My IP” (e.g.
176.21.122.154) - Combine your public WAN IP with the MinIO port (e.g.
176.21.122.154:9000) - Verify that you can connect to the server via e.g. your smartphone or other external network
Warning
The basic setup is intended for small-scale use. For use cases involving a larger number of CANedge3 devices, the setup may need to be modified for scalability
| [1] | The download links are for release 2023-04-20T17-56-55Z, which we use as basis for this guide. For later releases and e.g. other Linux builds, see the release page. |
| [2] | MinIO provides multiple IP endpoints - for running a local server setup, use the one corresponding to your router’s IP structure (see ‘Default Gateway’ when running ipconfig in the command prompt) - e.g. 192.168.0.178. The port should be 9000 when you log in via CANcloud or configure your CANedge3. Once you’re done testing, you can update your SecretKey e.g. via Norton’s password generator. You can then update it by using SET MINIO_ROOT_PASSWORD=YourNewSecretKey |
| [3] | (1, 2) Chrome recently blocked access to non-TLS endpoints. By default, your MinIO S3 server is setup to run without TLS enabled. This means that if you wish to login to your MinIO S3 server via CANcloud using Chrome, you will need to enable TLS on your MinIO server and CANedge3 devices (as per our separate guide). Since TLS is an advanced topic, we recommend that you initially use Firefox to login via CANcloud, as Firefox does not block access. If you wish to login via Chrome on the host PC, you can also download and unzip the latest CANcloud release and open the index.html file via Chrome. Finally, you can use Chrome with a non-TLS MinIO server if you have administrative access as outlined here (though this is an advanced topic). |