SIM card
To enable 3G/4G data transfer, you’ll need to insert and configure a micro SIM card.
Table of Contents
Insert and configure your SIM card
- Insert your micro SIM card in the SIM slot on the back (gold plate facing up)[1] (illustration)
- Ensure your 3G/4G antenna is properly connected and has clear access to the sky
- In your Configuration File, add your PIN and APN (if required)[2] and optionally enable roaming
- Once you have added your S3 server details you can test the device connectivity
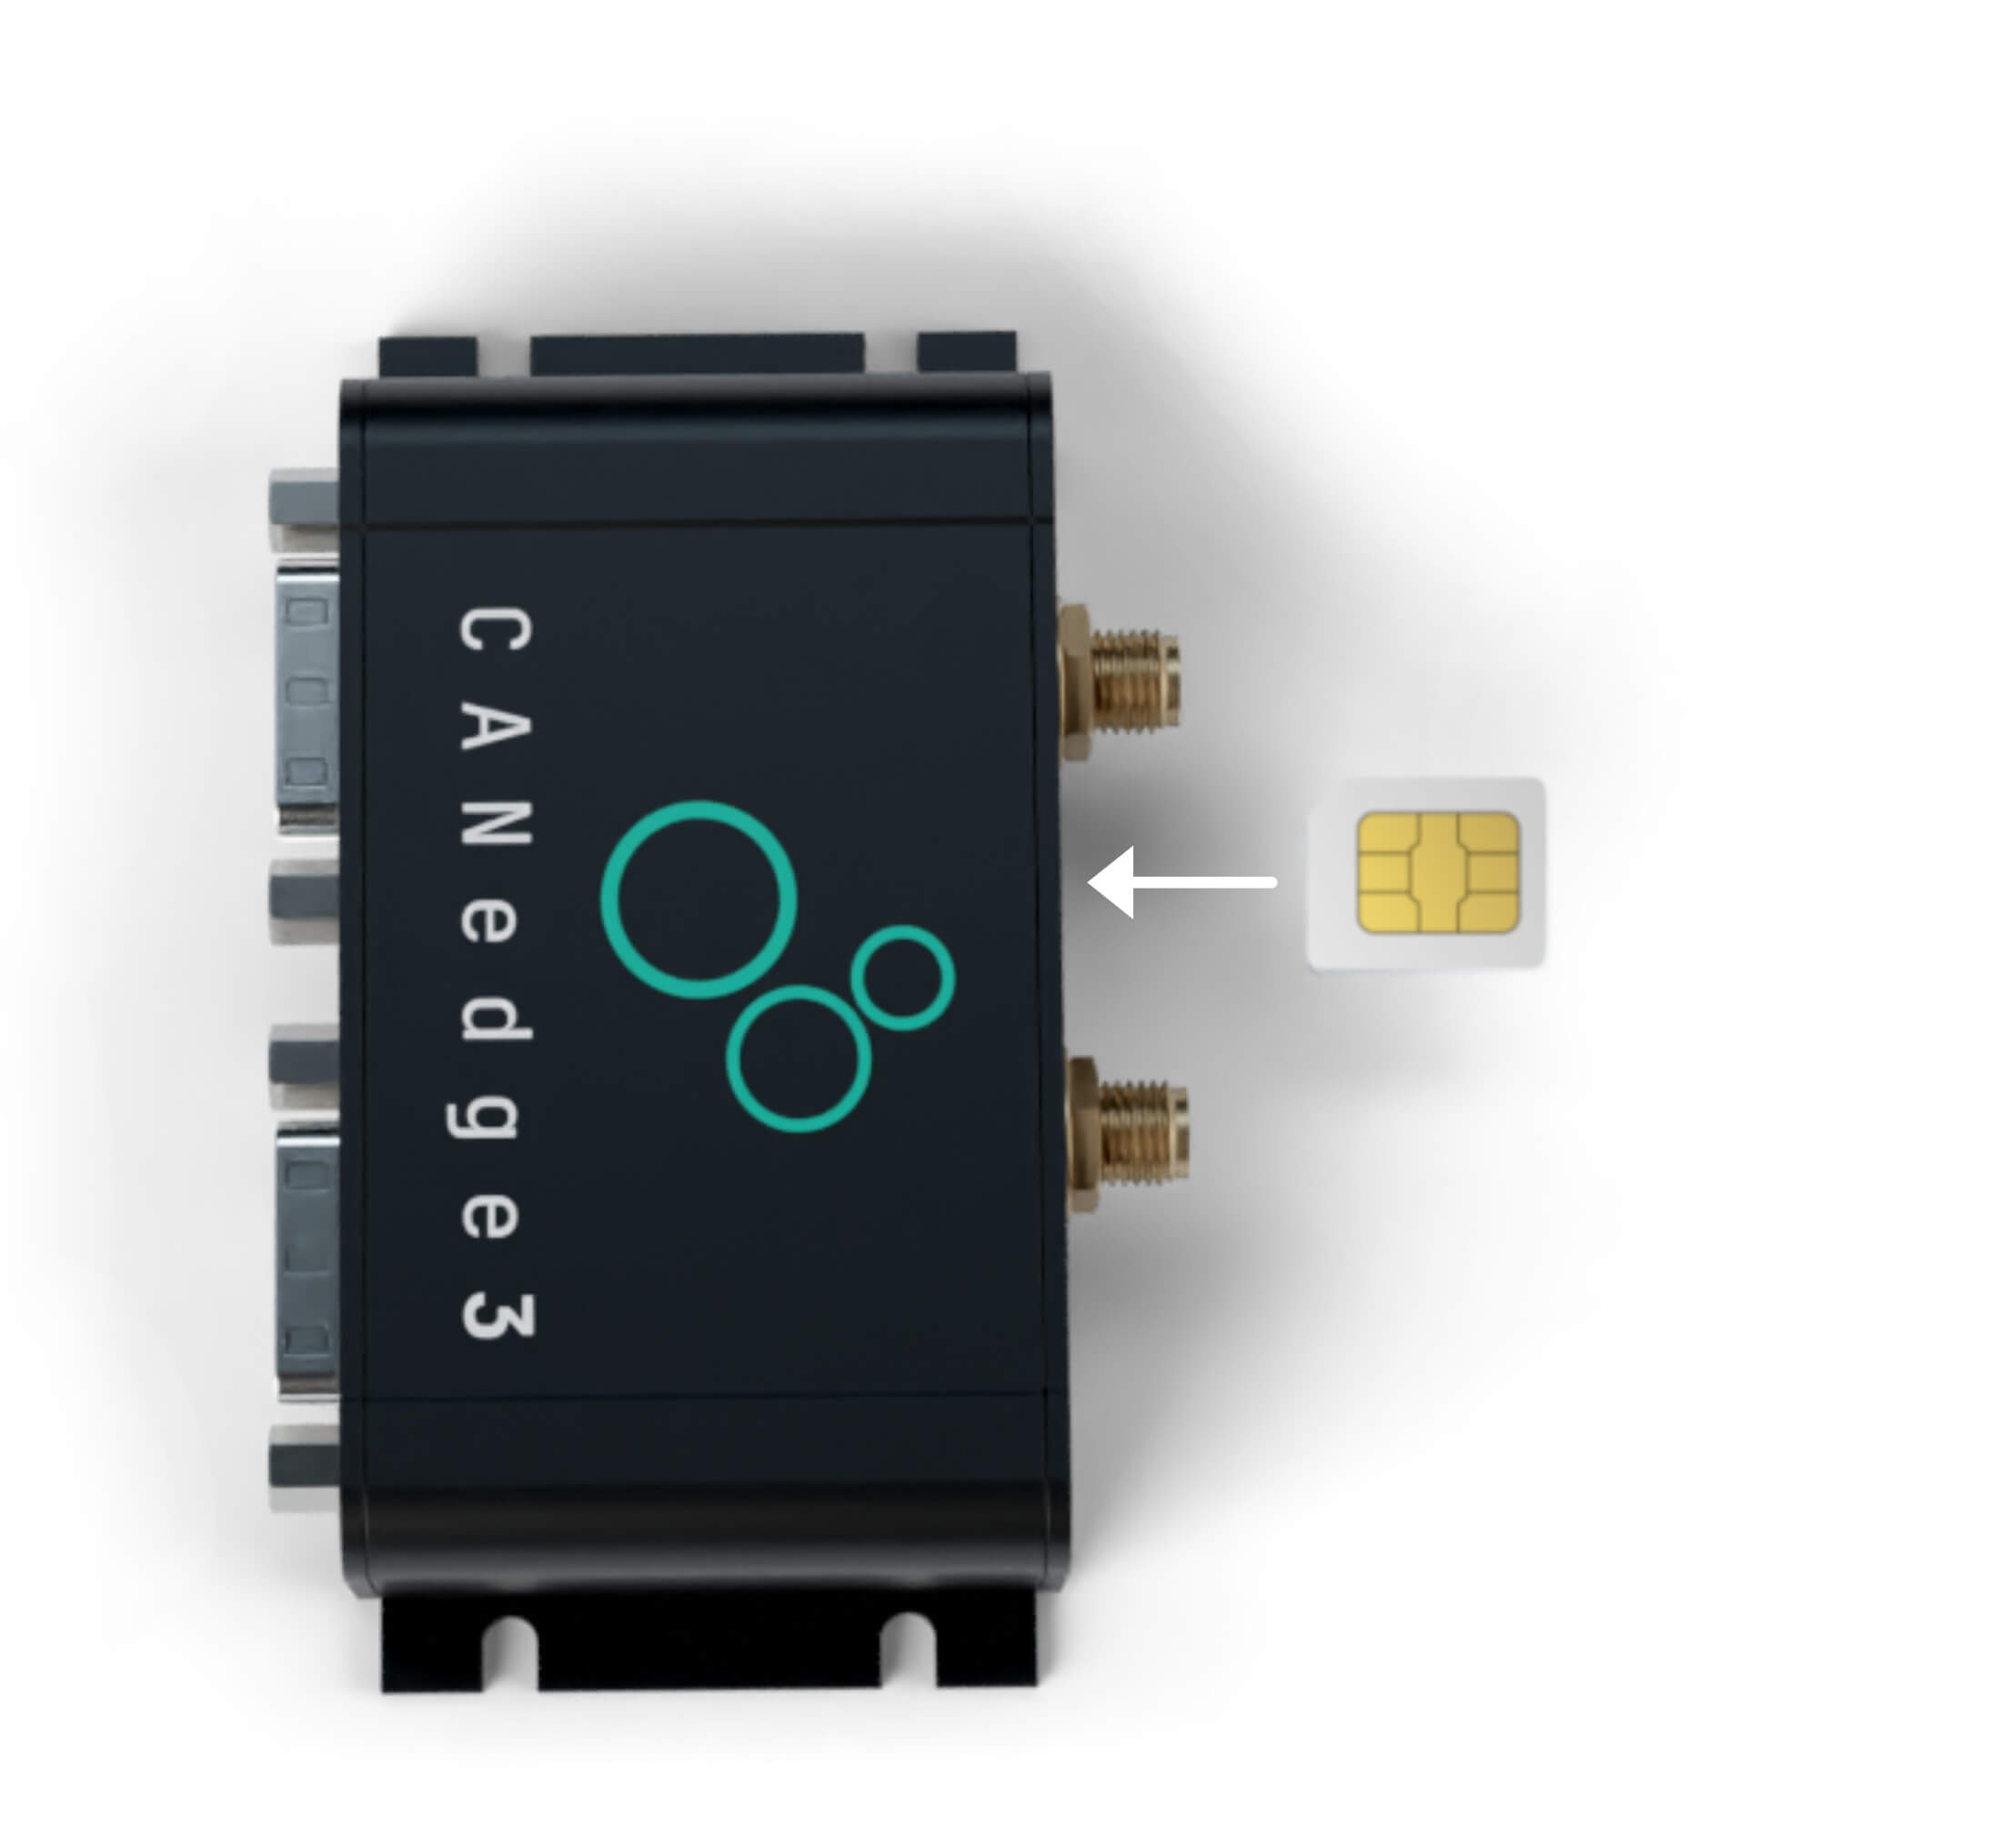
Note that the CANedge3 is not locked to any SIM provider and supports global 3G/4G frequency bands. However, we always recommend that you test the connectivity prior to deployment.
Warning
Incorrect insertion of the SIM card may result in damage to the device[3]
Super SIM card [optional]
The CANedge3 comes with an optional ‘Super SIM’ from KORE.
This global SIM enables quick deployment, multiple benefits and 90% rate discounts (see below).
Setup your account and activate your SIM
Below we outline the steps for setting up a Super SIM the first time[4]:
Note
The 90% discount is available only to company accounts. Make sure to use your company’s billing details when setting up your Twilio/KORE accounts
- Review the
rates(‘Discounted Rates’ column) for your country to determine viability[5] - Create a Twilio account and log in
- Go to Explore Products/Internet of Things and select ‘Create your KORE account’[6]
- Create a KORE account (incl. credit card) and verify the setup in Twilio (step-by-step guide)
- In Twilio, register your SIM (under Internet of Things in the left menu)
- Setup your SIM (note the default data cap[7])
- Under Super SIM/SIMs double-check that your SIM is now
Active - Copy our test
config-01.08.jsononto your device SD and power it on for 20 minutes - Login via CANcloud by loading the
config-01.08.jsonand check if your device has connected
After you have tested that your device connects, you can add your own S3 details.
Note
To maximize upload speed, make sure to update the Super SIM APN to match the region closest to your deployment: super (USA), de1.super (EU), sg1.super (Asia)[9]
Apply discounts to your account
Important: To apply the discounted rates, you must go through the below steps:
- Edit and send
this email(with your details) tocontact@csselectronics.com - Await the discount agreement from KORE (this normally takes 1-2 weeks)[10]
- Sign the agreement you’ll receive to unlock the discounted rates[8]
Note
The 90%+ discounted Super SIM rates make it a great option for 0-5 GB/month use cases in most countries. At 5+ GB you may benefit from a SIM provider with flat rate subscriptions
Warning
We recommend to only deploy the Super SIM after you unlock the discount (pre-discount rates are >100$/GB). However, you can of course use it for initial light connectivity testing
Removing the 500 MB/SIM/month limit
By default, the Super SIM is limited to 500 MB/SIM/month - however, once you have signed the discount agreement, this limit can be increased in your Super SIM ‘Fleet’ settings. If you remain unable to raise the limit after signing the agreement, please contact us.
AT&T SIM card registration
The CANedge3 is PTCRB and AT&T certified[11]. To use AT&T SIM cards in USA, you may need to register the IMEI of the device with AT&T.
If your device IMEI is not already registered in the AT&T portal, please follow below steps[12]:
- Ensure your device uses firmware
01.08.01(or newer) - Open your
device.jsonfrom the SD and copy the values of theidandcellular_imeifields - Send the values to us by email via our contact form with subject
CANedge3 AT&T IMEI
We will then ensure the IMEIs are uploaded through the AT&T platform to enable registration.
| [1] | You should hear/feel a ‘click’ when the SIM is correctly inserted and it will be fully inside the device. The ‘cut corner’ should be facing the LTE antenna connector. A small tool (e.g. a toothpick) may be required to fully insert/eject the SIM card. If you are in doubt if the SIM is correctly inserted, you can check if the SIM card identifier, ICCID, shows up in the CANedge3 device.json field cellular_iccid after a power cycle with the SIM inserted. We strongly recommend to not use already-ejected nano SIM cards (even via nano-to-micro SIM card adapters) as these may get stuck within the SIM slot holder. This can cause damage to the device, which is not covered by the warranty |
| [2] | You can typically find your APN via an online search or via your SIM provider’s website. For some SIM cards no PIN is required (in this case leave the PIN field blank). Similarly, some SIM cards may work without entering the APN |
| [3] | The SIM slot ejection mechanism and interface may get damaged if a SIM is inserted incorrectly. Ensure that your SIM is inserted as per the instructions. Further, if your micro SIM has an extractable embedded nano SIM, we recommend to use a proper plastic micro SIM card adapter instead. In particular, do not insert a micro SIM in which the embedded nano SIM has been extracted and subsequently manually reinserted. Damage from incorrect SIM insertion is not covered by the warranty. |
| [4] | When you later need to add more Super SIM cards to your account, most steps can of course be skipped |
| [5] | The discounted Super SIM rates reflect an agreement between CSS Electronics and Twilio in which we benefit from ‘volume based’ discounts (reflecting the global volume we sell of the CANedge3). Since we are not looking to manage SIM subscriptions at CSS Electronics, we instead re-direct this discount 100% to our end users - meaning that you benefit from the full discount even if you only have a single Twilio SIM. As with your S3 server, CSS Electronics is not involved in any way. Note that payment to KORE is via credit card (bank transfer is only available for accounts exceeding 5K$/year). |
| [6] | Twilio’s Super SIM has been acquired by KORE Wireless recently. During the transition there will be a need to both create a Twilio and a KORE account. |
| [7] | You can modify the data cap from the start - or later. We recommend to estimate how much data you’ll generate per month after you’ve optimized your file size. We do recommend to have some cap to serve as a budget limit. |
| [8] | The agreement is a short non-binding and non-comitting agreement that needs to be signed to add the discounted rates to your account. If signed before the 14th in a month, the discounts will apply from the 1st of that month. If signed after the 14th, the discounts will apply from the 1st of the next month. The agreement is on an account level, meaning that you only need to perform this step once and you can then register any number of SIMs to your account subsequently. |
| [9] | Selecting the right APN can increase your upload speed by a factor 2-3. |
| [10] | Due to the recent acquisition of the Super SIM by KORE, there may be delays in getting the discount agreement setup. If you experience that it takes more than 2 weeks to get your discount agreement, please let us know. |
| [11] | The certifications assume the device is installed with an extension antenna (>20 cm from the device) and that the device is configured to behave reasonably. In particular, it is recommended to avoid very high frequency connect/disconnect events (e.g. from very small log file splits or high-frequency heartbeat/sync). |
| [12] | We will periodically upload all produced CANedge3 IMEI numbers to AT&T, but depending on timing your specific device IMEI may not yet be registered in the portal. |