can2mqtt demo
Warning
The demo on this page is provided without support
This demo project demonstrates how python-can and cantools can be used to forward decoded CAN-bus messages to a MQTT-broker. Finally, Grafana and the Grafana MQTT data-source are used to visualize the data.
Python requirements
This demo is tested with Python 3.11 and uses the following dependencies.
cantools
paho-mqtt
python-can[mf4]
python-can-csscan-serial
python-can-csscan-txt
Note
It is recommended to use a virtual environment
python -m venv venv && venv\Scripts\activatefor Windowspython -m venv venv && source venv/bin/activatefor Linux
MQTT broker
The demo can be used with any existing MQTT broker. If no MQTT broker is available, the open-source Eclipse Mosquitto MQTT Broker can be used.
Once downloaded, the Mosquitto broker can be started using the default configuration. Under Windows, Mosquitto can be started from the command-line with e.g.:
"C:\Program Files\mosquitto\mosquitto.exe" -v
Note
Starting Mosquitto with the -v argument is helpful during troubleshooting.
As default, Mosquitto only allows local connections (localhost). To allow remote connections, create a copy of the default configuration, modify the configuration to allow remote access (see the Mosquitto configuration file documentation) and start Mosquitto using the updated configuration with e.g. -c mosquitto.conf.
At the time of writing, the minimal (and most insecure) changes needed to allow remote access are:
Change
#allow_anonymoustoallow_anonymous trueChange
#listenertolistener 1883 0.0.0.0
can2mqtt.py
The can2mqtt.py source can be downloaded here.
can2mqtt is a command-line tool, accepting a range of input arguments. The tool receives CAN-bus messages (from interface or file), decodes the payload (using a database) and publishes the results to an MQTT broker. The published topics are printed to the terminal. See the help text for more information.
$ python can2mqtt.py -h
usage: can2mqtt.py [-h] [--itf ITF] [--file FILE] [--dbc DBC] [--host HOST] [--port PORT]

options:
  -h, --help   show this help message and exit
  --itf ITF    CAN-bus interface, e.g. csscan_serial:COM1 (default: csscan_serial)
  --file FILE  CAN-bus log file, e.g. 00000001.MF4 (default: None)
  --dbc DBC    CAN-bus database file path (default: db.dbc)
  --host HOST  MQTT broker host (default: localhost)
  --port PORT  MQTT broker port (default: 1883)
Examples of usage
Read from (default) interface csscan_serial with channel auto-detect using database canmod-input.dbc.
$ python can2mqtt.py --dbc canmod-input.dbc
Read from interface csscan_serial channel COM19 using database canmod-input.dbc.
$ python can2mqtt.py --itf csscan_serial:COM19 --dbc canmod-input.dbc
Read from file 0000001.TXT using database canmod-input.dbc.
$ python can2mqtt.py --file 0000001.TXT --dbc canmod-input.dbc
Read from file 00000001.MF4 using database canmod-input.dbc.
$ python can2mqtt.py --file 00000001.MF4 --dbc canmod-input.dbc
Note
When using a log file as input, message timestamps are relative to the current system time.
Grafana MQTT data-source
The Grafana MQTT data-source can be used to subscribe to and visualize the decoded data.
When the datasource has been installed, set up the Datasource URI to e.g. tcp://localhost:1883 (when running on the same PC).
Configuration tips
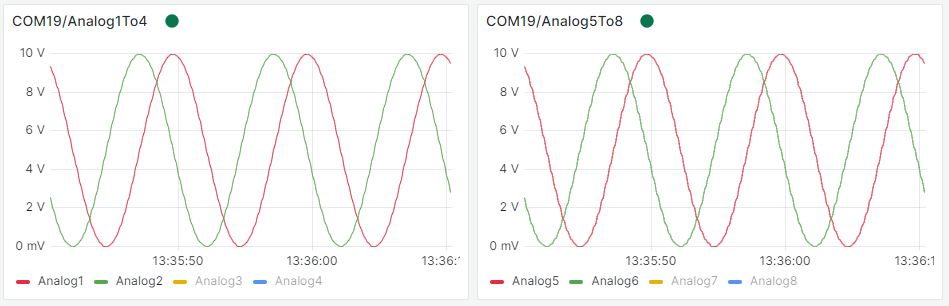
Use the topics printed to the terminal when configuring visuals in Grafana.
Multiple can2Mqtt clients can publish to the same broker (and simultaniously displayed in Grafana) by opening multiple terminals.
For performance, Grafana displays only the n most recent observations. This can be overruled (at the cost of performance) via the
Query options/Max data pointssettingThe Grafana MQTT data source uses as default the message reception time as message timestamp. To use the timestamp stored in the MQTT message, perform the following steps.
Transform data > Convert field type > Field: timestamp as Time (input format blank)
Transform data > Filter fields by name > Deselect only Time